


Do you want to make your wooden windows and doors look like new? Do you want to transform your wooden chairs or show off the beauty of an old wooden item that you hold dear?
It’s not as hard as you think!
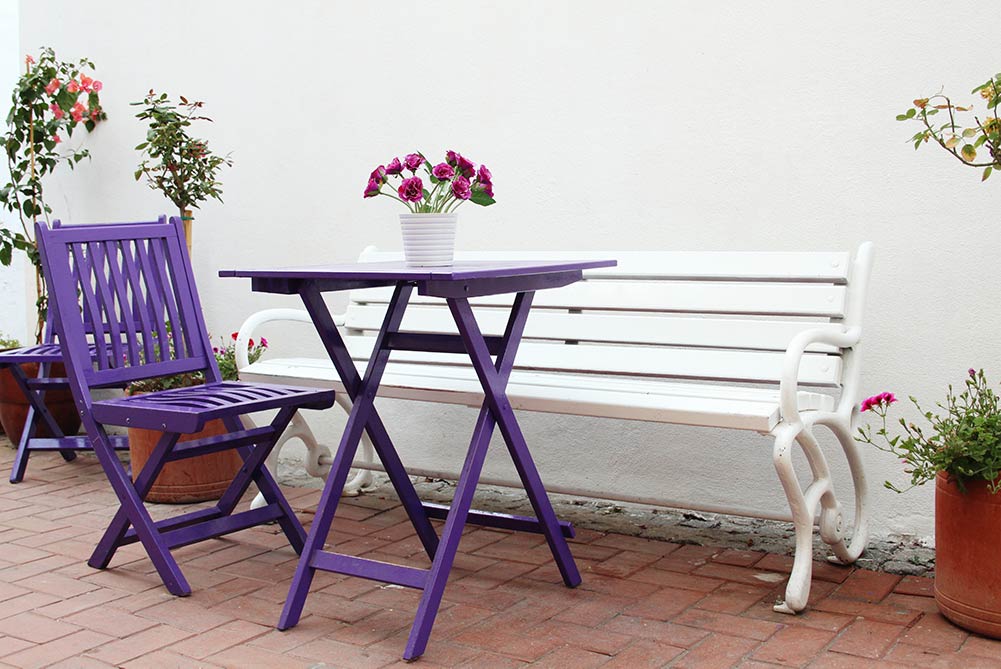
Wood is one of the most common structural materials, but it’s also a widely used decorative material with unlimited aesthetic abilities. Wooden furniture, stairs, railings, and many other surfaces add warmth to our spaces, and when used in conjunction with the appropriate materials, a unique result is created.
To maintain the original look of wooden surfaces, and also to creatively restore our old furniture, we must treat them appropriately, and paint them with the correct materials. This is something you can do yourselves as well, as long as you pay careful attention to the steps that follow, and arm yourself with patience and the appropriate mood, just like with any other DIY project!
Before you begin, you can make your tests on a wooden surface that you won’t miss if it’s destroyed, and in the beginning, we suggest you choose to paint a small item. Select the correct colors and begin!
Materials and tools you’ll need:
- A brush to clean the surface
- Sandpaper or a pulse sander
- A paintbrush or roll for painting wood
- ISOLAC-AQUA ECO PRIMER
- ISOLAC-ΑQUA ECO GLOSS (shiny finish) or ISOLAC-ΑQUA ECO SATIN (satin finish)
To restore any cracks or dents in the surface:
- A spatula
- ISOMAT ACRYL-STUCCO
Preparing the wooden surface for painting
1. First, we clean the surface thoroughly with a brush, so that it’s dry and has no oils, loose materials, dust, etc.
2. If there are holes or cracks, we restore them with the acrylic stucco ISOMAT ACRYL-STUCCO. The ISOMAT ACRYL-STUCCO is applied by dragging a spatula with the material over the crack or hole. Two layers are needed, and the second layer is applied after the first is dry.
3. Then, we sand the surface with the appropriate sandpaper. For the correct choice of sandpaper grit, ask at the store where you bought your tools
4. After we’ve smoothed the base layer’s irregularities and we’ve achieved the desired result, we clean the surface once again, removing dust.
TIP: To achieve a very smooth result, and to also simplify the sanding procedure, especially for large surfaces, we can use a special sanding power tool called a pulse sander.
5. Then, we apply a primer with the water-based velatura ISOLAC-AQUA ECO PRIMER. The ISOLAC-AQUA ECO PRIMER is applied with a paintbrush or a roll, in one or two layers, 5%–10% thinned with clean water. After it’s dry, the surface must be smoothed with sandpaper and cleaned again.
Painting a wooden surface
You’ve finished the most tiring part of the project, and your surface is ready to be painted! Choose the color that would create the best aesthetic result and would fit your space best. One of the unique hues of the ISOMAT COLOR SYSTEM will certainly be the one you are looking for!
To have an impressive result that will withstand the test of time, and to ease the process of application, it’s important to choose a high-quality paint, like the water-based ripolin ISOLAC-AQUA ECO.
The ISOLAC-AQUA ECO is mixed well before use and is applied in two layers, with a paintbrush or a roll, 5%–10% thinned with clean water. The second layer is applied after the first is completely dry.
Cleaning your tools
You must clean your tools immediately after use, with water and detergent. Before you clean them, remove as much material from the tools as you can.
Did you enjoy the process and the result? Continue by painting a larger surface, item, or piece of furniture, and improve the look of your house as much as you want!


